0:00
Welcome. In front of me is a one plus 11 and today I'll show you how you can bypass the Google verification on this phone
0:11
Now for this unfortunately we'll need another Android device. I'll be using some Poco X5 or X5 Pro I think it is, but you can use any kind of other Android device
0:25
As long as it has access to Play Store and you're good to go. start off with this device. So on here we're just going to open up Play Store and search
0:36
for clone phone. We're looking for the one for one plus so it's going to be a second one
0:49
one at least that's how it looks like. Select install. Now we'll all the download
0:59
actually it's already finished, you can open it up. Now it's going to require a bunch
1:06
of permissions. We need to grant everything basically. So you start going through
1:14
everything that it tells you to turn on. Apparently that's it. No, no, start migrating
1:22
We also need to do something here and go. So every time it opens up some kind of list of
1:29
application like this one just find the app cloned phone and enable whatever it's in that
1:34
area here again toggle on aware while using the app allow while using the app allow
1:59
And we're good to go here. So you can see it's now showing us the QR scanner, so that's what we want
2:05
I'm going to lock it for now and move over to our locked device now. So before I get started with actual process, I'm going to just quickly mention right here
2:14
We do have a pattern as a unlocking method. And also if I close this, I could unlock it using the Google account instead
2:20
But obviously we don't know either of those. So we're just going to bypass this by going back
2:25
Now, in your case, you do want to connect to your network
2:29
As you can see, I have already connected to mine. And once you have done so, you can then back out to the first page
2:36
Or second. There we go. And we're going to now, let me just quickly check out through the guide what we need to exactly do
2:50
Okay so actually I am supposed to stay on the Wi connection page So right here
2:58
And once we are connected to our network, we're going to tap on this I icon
3:02
I'm going to scroll to... There we go. To share, so we don't need to scroll
3:09
I'm going to select nearby, turn on, need help sharing. top on that three dots and then select share article
3:25
and we're going to select messages keep in mind I don't even have a SIM card in here
3:31
or at least I don't I shouldn't have one I'm going to check it just in case
3:36
now in here I'm going to select new message just so I don't press anything later on
3:41
okay so I'm going to pop out the tray you can see no SIM card in here and this will still work so in the two field just
3:54
type in any kind of numbers good enough now it will automatically paste that
4:03
that article so we want to select it and we want to just completely remove this entire thing
4:09
and in the message we're going to type in youtube.com now i believe we do need to add the
4:15
the WWW because sometimes if you don't it will open up YouTube in a pop-up window
4:23
instead of the actual like full application. If it opens up in a pop-up window that's not what we need so you would just need to
4:31
go back select a different different number and then try it again
4:36
Anyway so www.w.w. When you send it, it will obviously show you the link and you have right here the button
4:50
top to load preview. You want to select it and then simply click on the image
4:56
As you can see, this takes us to YouTube and in here we're going to now navigate to account settings
5:07
And from here, let me just quickly catch up about Google Privacy Policy
5:14
policy, accept and continue and no thanks. Again no thanks. And right at the top you want
5:20
to navigate to hard reset. info slash bypass. Like this
5:44
I going to be From here we looking for this all right here Google search up
5:54
and click on it and we're going to click on the microphone
5:59
no thanks say because we will need to say what we want to open okay so we're going to be
6:21
opening the application like this one that we have downloaded on our
6:25
unlocked device so again open the clone phone and there we go now if on
6:35
your end you're struggling with opening up this up maybe your accent
6:39
is making it very difficult for you. You could try to play me back
6:43
a little bit louder to your lacked device and hopefully that will work. Anyway, I'm going to select allow, allow
6:49
basically anything that wants we, again, I'm going to allow here. Then we want to select that this is the new device
6:58
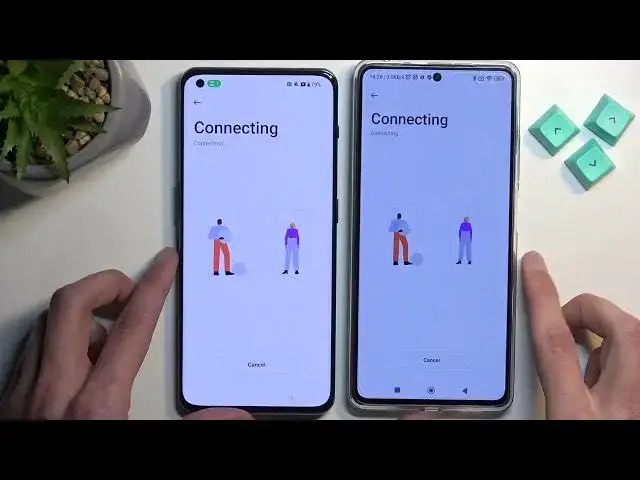
Allow. Other Android. And we have our QR code visible now. So grab your unlocked device
7:07
We should probably still have that. open come on okay so yeah as can see the QR code scanner is still open
7:16
and now all we need to do is just simply scan this code there we go it will start
7:27
scanning this device for all the data now what you want to do is basically
7:32
deselect everything by tapping right here and what are we coming doing is
7:36
going into the apps right here and and selecting just any kind of app, any app will do
7:46
Probably the smaller the better. I guess I'm gonna go with YouTube music
7:56
It's only like 68 megabytes, so I should be quick enough. From there I can type on the check mark and then start migrating
8:09
select done so this device is now finished we don need it anymore on here we just waiting for this to happen so it migrated the app then installed it or processed it whatever it was doing and we can now select done and we are basically at the end of the setup now so we can select our method of navigation to our device then we going to skip selecting any kind of screen lock later Go to next page and we can now finish up setting up our device
8:46
As you can see, we have now access to our home screen. Now from here, you will want to navigate into these settings as a last step
8:55
Then you want to select additional settings, backup and reset. reset phone erase all data erase data and remove e-sim profile and i believe once you press on that again
9:12
check and just do that yep it will begin resetting so this will only take about a minute or so it's
9:19
a really quick reset on this device and the reason you want to do this is because a reset performed
9:24
through settings like we are doing right now also removes protection from the device so google accounts and
9:31
screen locks will be now completely removed. Now even though we did finish up the setup
9:35
and we didn't have to verify anything, these protection methods are still present on this device
9:43
After their reset is finished, they will no longer be present on it and we can then set up our device however we want
9:50
So I'm just going to let it run through and come back once it's finished. I'm going to be
10:03
I'm not. I'm going to be. I'm going to be. I'm gonnae. And..
10:39
And as you can see we are now finished so just quickly go through this
10:46
Now I'll be skipping basically everything that I can, but on your end you can set it up however you want
11:09
And as you can see, we are now done. So if you found this very helpful, don't forget to hit like, subscribe and thanks for watching