0:00
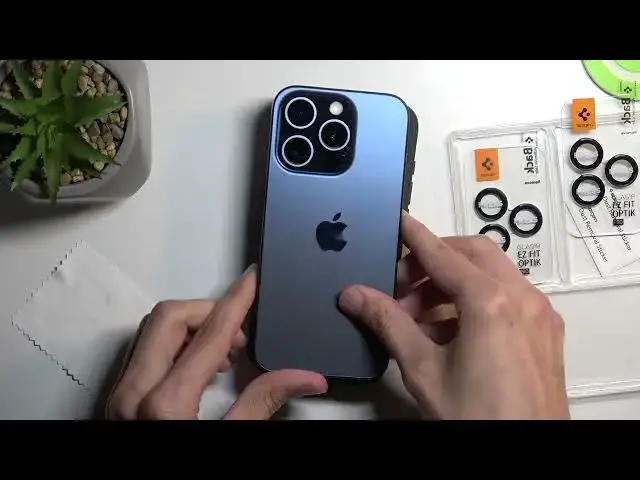
Welcome, I'm Fenomy as an iPhone 15 Pro and today I'll be going over application of the Spigen
0:07
lens protection right here. I'll be also obviously replacing the one that I have applied right now
0:12
This one is a cheap one that can get this from the Spigen is a little bit better
0:17
which you will see in a moment. So anyway let's just get straight into it
0:24
Okay that's basically all we have right here. We have a little bit of a
0:32
info right here on how to apply it. Taking that off. Okay so this would go like so. Okay now I'm gonna look at this a little bit more
0:55
how to try to figure it out. Okay so not much to it. Okay so
1:00
I do have a little bit of a sticker right here for removing dust. We have this which I have
1:08
no clue what we would be using this for. Does maybe show us anything
1:16
No it does not. I do have an idea so maybe if you have like mispositioned this a little bit
1:22
you can kind of like lift it up. It is kind of like a wedge as you can see
1:27
Uh-huh on a white background you can see it a little bit better. So I possibly could use that
1:32
for it. We have a little cloth right here and yeah that's about it. So let's just get straight
1:36
into it. I'm gonna take off the case and I'm gonna rip this off. Go yoink. Done
1:47
And I'm gonna give it a nice wipe around. Even though technically there shouldn't be anything in there I still want to be just
1:55
absolutely certain about it. Now luckily we do have two of them so if you
2:03
screw one up you can always just have a second go at it
2:25
So from here I want to actually remove the speck of dust that is right here. There we go
2:39
We're gonna peel that off and we're gonna place it down. You want to make sure it goes over the cameras
2:50
So there we go. It looks like it went over. Press it down and then
2:59
so what we need to do is yep just lift it up and voila perfectly on there as you can see
3:06
And surprisingly you can't actually really tell that anything is on. It just looks like the
3:11
camera bump is a little bit bigger but it's not very noticeable. I'm gonna give it a little bit
3:19
more of a squeeze right here just in case one of them isn't holding too well. There we go
3:29
So here we go. It's now applied and that being said like I cannot really tell that anything
3:37
is on here which is actually pretty nice compared to the previous one that I had applied right here
3:42
This one obviously this one seems cheap and not too good compared to this one. This one looks
3:48
just like the phone came like this so that's pretty good. And obviously putting it back on
3:52
the device it doesn't interfere with anything. It's still perfectly on there. And in terms of
4:01
additional bulk it doesn't seem like it added. It added just a little bit more because it is very
4:10
very close to the bezel of the case right here which typically the cameras would be a little
4:14
bit below recessed in this. With this it's about on the same level so it does add just a little bit
4:22
of additional thickness to the cameras but it still should be pretty well protected. Anyway
4:29
if you found this very helpful don't forget to hit like subscribe and thanks for watching