0:07
Invaluze AAPO A503S and today I will show you how you can go to the setup process of this phone
0:14
Now when you boot it up for the first time, you'll be presented with this screen right over here where you get to select your language
0:20
So find your desired one, I'm sticking with English. And then on the next page we can select our region
0:27
Now this will define the time zone. And from here we have terms of service
0:33
So obviously you need to select the first one that you have read and agreed them
0:37
And the two additional ones are optional as you can see right here
0:42
So I'm just going to select the first one and go to the next page. Which brings us to the Wi-Fi connection
0:48
So here obviously you can connect to Wi-Fi that is also optional. If you don't have any kind of Wi-Fi network around you, you can completely skip this
0:55
And additionally, you can also insert your SIM card to use as some kind of
0:58
network through your mobile network and if you choose to skip both of them you
1:04
won't have the ability to log into Google account throughout the setup process though this can be changed later on after the setup has been
1:11
completed so I'll be skipping it for now or apparently I'm not because someone
1:19
locked the device beforehand now that I actually look at it they do need to
1:24
connect to Wi-Fi okay So here we go I just connected And here we have Wi Assistant Now this is one of the Apo features without call And what it allows you to do is when you check this on the device will choose the best network for you Wi
1:51
So if you have more than one in your phone's memory, that you can, for instance, switch on the go
1:56
It will select the one that is working better at the moment
2:00
And additionally, if both of them suck, you can check this on, and it will automatically switch to your mobile network instead
2:06
assuming that one, is faster than your Wi-Fi. Now, when it comes into the second one for the mobile network
2:14
I wouldn't recommend that for people that have a low data plan
2:18
because you might actually run out of it quicker than you would anticipate
2:22
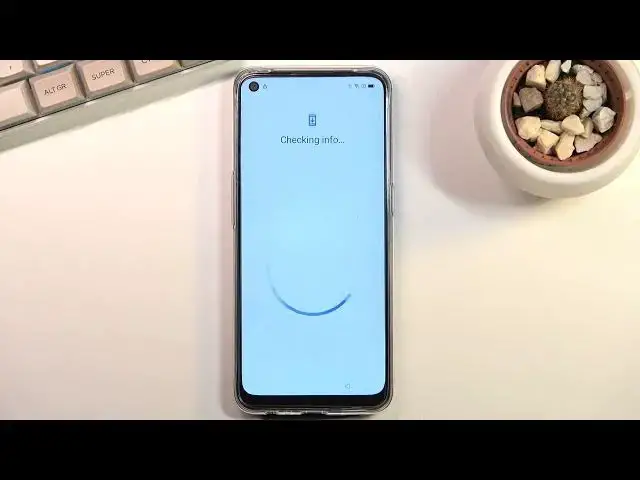
So keep that in mind when choosing these options right here. Then on the next page, we have checking for updates
2:30
Now, this is also going to be normally where you just get to go through the Google features, like the location
2:37
sending user and diagnostic data, but for me it's going to stop me with a protection
2:43
screen where I get to verify who I am. So don't copy
2:55
And here we go. So I need to unlock the device, so let me just quickly do that by drawing the pattern, and voila
3:01
I have just unlocked it. Now for you, this should not show up
3:06
If it did, then that means that this device was supposedly new, that means that it wasn't
3:14
But I used a locked device from someone. Now if that is the case I might make a video assuming there is a way to bypass this screen for everybody that just got a locked device So yeah I assume this is going to be a really small percent of the people that are watching this anyway
3:31
So yeah, going further, you can see here we have the sign-in page for Google because I did connect to Wi-Fi
3:37
And I'll be skipping it, but obviously you can connect to it if you want to. And then we have the Google Services, so we have location scanning and sending user in diagnostic data
3:47
Now quickly going into each one of these, location is just the GPS tracking
3:53
Scanning allows the device to look for Wi-Fi and Bluetooth signals, and then sending user in diagnostic data allows Google to spy on you
4:05
Set lag screen password, now this is completely up to you if you want to go right ahead
4:09
If you don't, skip this. I will set up some kind of protection right here
4:14
So by default it drops into a 6-Jit, digit pin but we can top right over here and change it to pattern four-digit pin and
4:23
4 to 16 digit pin an alphabetical password now I have a little bit of a problem
4:30
with appo translations right here 4 to 4 digit password it's not a password it's a
4:39
pin it has numbers not letters so yeah it bugs me beyond belief here but anyway
4:47
Anyway, once you choose your desired measure of unlocking your device, you can then basically
4:54
insert it, repeat it once more, and this will set it up
5:01
Now for some reason automatically without even asking you tries to go next to enrolling face as a face recognition so you can unlock it with your face but you can skip it right up here And then additionally it pumps you to put a fingerprint which I don really want to do
5:14
so I'm going to select cancel. And we have some recommended stuff, auto update overnight, completely up to you if you
5:22
want to do that or not. Home screen icons, just the way the icons will look like on your home screen
5:27
So you can choose which ones you want. You can see there are a couple of them
5:31
I'm just going to stick with default ones. And from there, we can go to the next page, which allows us to import data
5:37
Now, before we actually had a similar screen, but that one was from Google, which would allow you to just kind of log into your Google account
5:46
And then Google would define what apps should be installed, and it would start basically downloading them and installing them
5:53
This is a little bit different because this will allow you to download their application that they use on Apple
6:01
on any other device and basically what you do is install that application on your older device then you go through the
6:07
pairing process of these two devices and you can select what you can move over
6:12
and it will virtually create a hot spot between these two devices connect them together and just start moving over the data to this device
6:21
now i'm setting it up as new so i'm skipping this by selecting later
6:27
and this will finish up the setup and here we go. So if you found this very helpful don't forget to hit like
6:37
subscribe and thanks for watching