0:00
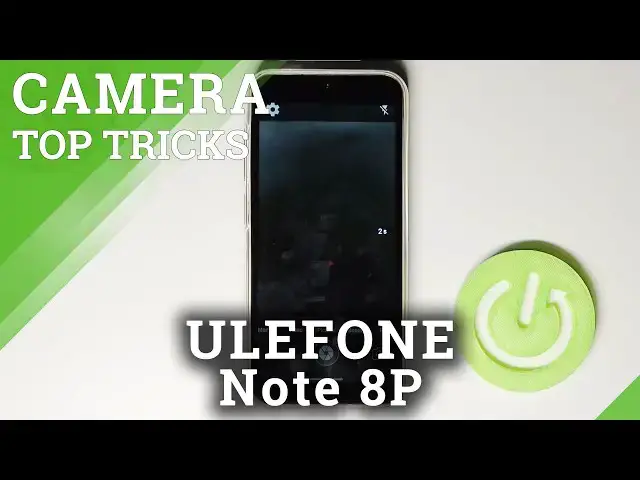
Welcome, in front of me I have Olefon Note 8P and today I will show you a couple camera tricks
0:10
Oh, I just misclicked for the clock but we have to open camera for sure
0:17
And as you can see right now we are in the camera and I will talk about the features
0:22
that we can find in the settings and after that I will talk about the modes
0:26
So let's tap on the left upper corner to enter the settings and at the first we can quickly
0:30
add the self timer, so when you tap right here and choose 2, 5 or 10 seconds, let's
0:35
go for the 2 and then go for the picture, tap on the shutter, after 2 seconds the photo
0:41
will be taken. Oh, let me just clean my screen because it's messy a little bit, it doesn't look good
0:48
Ok, and the next option is called the picture size, we can quickly increase quality of our
0:57
photo by tapping here and going for 8 megapixel, the highest resolution that is available here
1:02
it's 4 by 3 into the, I mean into the aspect ratio, so it changes a little bit
1:12
And we can also add the watermark to the photo, so when you tap on the switcher and then take
1:17
a photo, on the left corner, probably the left one, I mean the left bottom corner, there
1:26
we get the model of our smartphone as you can see, so it was shot on the Ulefone Note 8P
1:35
We can also go right here for the settings and find the volume keys option, so when you
1:40
tap here you can switch to zoom or volume, I always prefer to go for the zoom and take
1:45
a look right now, when you press the volume up or volume down button, just like that
1:50
you can smoothly zoom in, as you can see you can zoom in by tapping on the volume key
2:00
just like that, or tap on the volume down button and you can zoom out, so for me it's
2:12
better than pinching skin with two fingers. And I think that from the settings is all, or we can also add the grid lines, the grid
2:22
lines that appears on the screen, and right now if you want to put object into the middle
2:26
of the photo, it will be definitely much easier, because we got here this help grid lines
2:32
And what I can say about the mode, so we got the standard picture mode and the video mode
2:37
but we get here the monochromatic photo, so there are only black and white colors
2:42
so take a look, there it is
2:52
Now when we are in the picture mode we can easily click and hold for the screen and when
2:56
we tap on this sun icon we can change the brightness level, as you can see
3:05
We get here also the beauty mode, so we can improve face beauty, like you can change shape
3:14
of the jaw, I mean of the chin, we can make bigger eyes, or just make a small face
3:23
Now we got also the booke mode, but honestly it looks really bad, I don't recommend to
3:31
use this mode. We got the pro mode, where we can apply few things like white balance by moving this switcher
3:41
Let's enter another time. So yeah, there is the white balance mode
3:48
Oh, come on, it's broken or something like that
4:01
So when you tap just like that, instead of swiping, you can quickly change the white
4:06
balance, the same for the ISO and for the EV. And you can also find tutorial on our YouTube channel how to use this mode
4:15
If you find this video helpful, remember to leave a like, comment and subscribe to our