0:00
Welcome, here I've got
0:01
Xiaomi Redmi Note 9 Pro and I'm going to show you
0:27
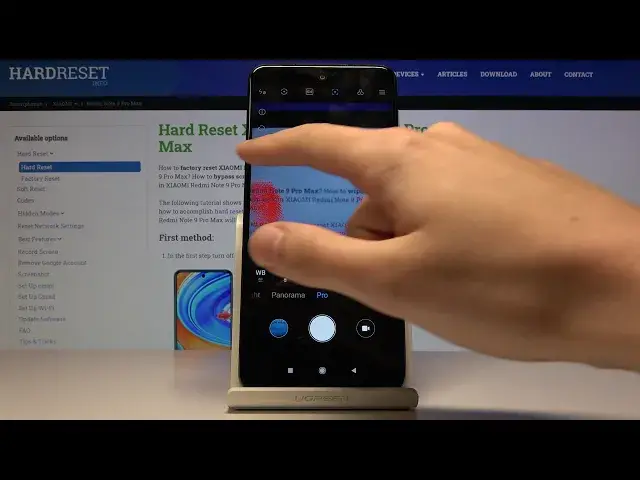
the camera Pro mode at this device. So at first we have to click on a camera button here. And as you can see for now, we are in the standard photo mode, so we have to change it. And we can do it by using this slider and simply go to the right to the end where we have the Pro mode. So the Pro mode gives us possibility to choose shooting parameters by ourselves. This is useful when we want to learn the photographic skills and making experiments. So let's start with this Settings bar here
0:29
The first one button here is the white balance, so here we can control the temperature of our picture
0:35
And we can pick from the lights. This is the tungsten light, then the daylight, white fluorescent light, and the cloudy light
0:42
And also we get access to this slider. Here we can manually control the temperature in calvin degrees
0:49
and we can make our picture just more warm and more cold as we need. This is how it works
0:55
The next one button here is the focusing, so here we can change the autofocus to the manual
0:59
So we get access to this slider and we can do it like that
1:03
This is how it works. And now let's go to the next button
1:07
This is the shooter speed. So here we can control the time of taking picture
1:11
And as you can see, we have the pretty wide spectrum of it. We can pick from 1 and 4 of seconds which is very short to the 40 seconds of taking picture here which is very long So this gives lots of possibilities to making experiments with that
1:30
And the next one button here is the ISO here is also here we can control the camera's
1:34
sensitivity to light. And as you can see we can pick from 100 ISO to the 3,000 and
1:42
200 of ISO. So this is also pretty wide spectrum. And let's go to the next button. This is
1:49
locked now because this is the exposure compensation which also led us to control the light of our
1:55
picture and this is locked because we set up the shooter speed and ISO manually so one of these
2:01
parameters should be auto to unlock this as you can see now we have the ISO on auto and the exposure
2:09
compensation is unlocked and the shooter speed is manually and the same thing happened when we have
2:16
the ISO manually and when we set up the shooter speed on auto, we also unlock this. So this led us to make our picture just more bright
2:27
or more dark, but the important information is that this is locked when we have these two
2:33
parameters on manual. So let's go to the next button. This is the lens. We can pick from white
2:39
lens ultra lens and the macro lens This is how it works I going to stay on the white lens for now And now let move to this settings bar here The first one button I want to show you is the metering So here we can change it from center weighted metering to frame average metering
2:56
And the spot matter ring. This is how it works. And now let's go to this button
3:01
This is interesting and not popular in the smartphone cameras. So this is the focus picking
3:07
It is useful for example when we have the focusing manually. And it shows us where is the focus
3:13
focus and how to better adjust it by using this red signs
3:20
So this is useful. And the next one here is the exposure verification
3:24
So this helps us to control our exposure and shows us the lines where the exposure is
3:34
under-exposite and overexposite. So for example, I'm going to try to make it too bright
3:41
And as you can see, this is how it works now. it shows us where it's too bright on the picture
3:46
And now let's go to the next button here. This led us to more advanced settings
3:52
Most of them are available in the standard photo modes, but one of them is special here
3:58
This is the rough format only in the Pro mode. So this is the format used by professional photographers
4:04
to have the best possible quality of the picture and to prospecting them easily in the graphic program after taking them So this is really pro here and this is really useful And the other thing I want to show you is that when we tap on the screen
4:21
we get access to this ring. For now, maybe I'm going to go to the dark to show you better how it looks like
4:30
And we have the screen and we can separate it and add just separately the focusing here
4:38
and the exposure compensation here. So this is also very useful here
4:44
And also when we tap on this eye icon, we can read about all of these modes
4:49
So we can learn from this. So this is how it works
4:53
And after turn it on all of these settings, we might want to go back to the auto settings
4:57
And we can do it by simply tapping on this button here. So this led us straight to the reset all parameters
5:05
to the default values. So OK. And as you can see here we are again on the auto settings
5:12
So for now I'm going to take a picture. And let's go to the preview
5:32
Thanks for watching, subscribe our channel and leave the thumbs up