0:00
Welcome, here I've got the Doji S90 and I'm gonna show you the top tricks of it's camera
0:09
So at first we have to click on a camera button here and as you can see for now we are in
0:13
the standard photo mode so let's see what we've got. We start with this button in the center, this is the flash, by tapping on this we get access
0:21
to it, we can pick the auto flash, we can at the right turn on flash every time we take
0:27
a picture and we can also at the left turn it off here
0:31
The next one button here is the HDR mode so here we can, the HDR helps to improve the
0:38
details in the brightest and darkest areas of our photos so this is very useful when
0:43
we have difficult conditions and it really helps to making our photo just more beautiful
0:50
So I recommend you to keep turning it on when we can
0:55
For now let's take a look at the screen, by tapping on the camera view this is the
1:00
ring with focusing and the sun icon at the right is the exposure compensation so here
1:07
we can make our picture just more bright or dark as we need, this is how it works here
1:13
And now let's focus on this settings bar here, here we can change the modes of this camera
1:18
as you can see we can pick video mode, picture mode, aperture, beauty, panoramic, mono and
1:24
pro so these are the options of this, I recommend you to make an experiment with that and just
1:31
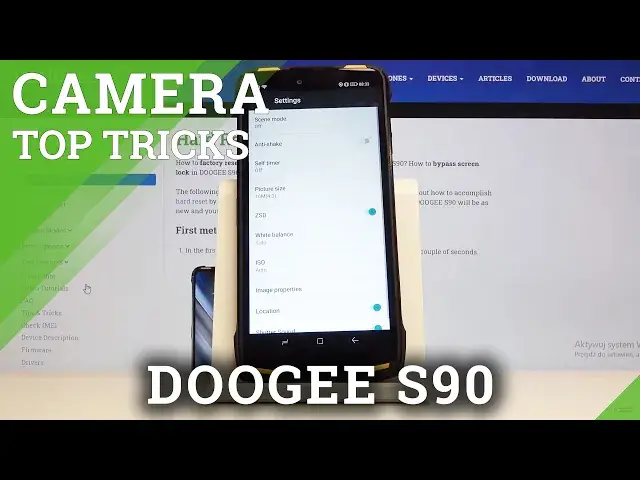
have a good time. So for now let's go to the settings in the left corner, these are more advanced settings
1:38
of this camera and as you can see here we can turn on the anti-shaking option so this
1:45
is helpful when our hands are shaking or we have difficult conditions
1:51
The next one I want to show you is the self timer so here we can change the delay of taking
1:56
picture as you can see we can pick from 2 or 10 seconds, I'm going to pick 2 seconds
2:00
to show you how it works and let me take a picture
2:06
And as you can see the picture was taken with 2 seconds delay and of course to turn it off
2:11
we go back to this settings here. And now the next option here is the picture size so here we can manage this, we can pick
2:19
from the quality 16 megapixels, 13 megapixels and 12 megapixels and this is connected with
2:27
the ratio of this camera, we have 3 ratios, 18 and 9 which looks like that, this is the
2:35
full screen ratio here, 16 and 9 so this is how it looks like, it's a little bit shorter
2:43
here and the original one which is 4 and 3 ratio so this is how it looks like
2:51
And we go back to this settings, the good thing here also is that we can manage the
2:57
white balance here in the standard photo mode so we can pick from this white balances, this
3:03
is the temperature of our picture, as you can see we can adjust the light and make our
3:09
picture more warm or cold like that, for example the cloudy or warm fluorescent so this is
3:22
how it works here and of course we can pick the auto white balance here
3:28
The next one here option is the ISO so here we can control the camera's sensitivity to
3:33
light and we can pick from ISO from 100 to 1600 so this is a pretty wide spectrum of
3:40
it and also we can pick the auto ISO here. Also interesting thing are the image properties and we can adjust here a few parameters, brightness
3:53
contrast, hue, saturation and sharpness so of course I recommend you to make experiments
4:00
with that and to really have fun because this is very interesting in this camera
4:08
And now let's go here to the location so by tapping on this button we can turn on and
4:13
turn off the location of our picture and when we really want to save our location the important
4:19
information is also that we have to be connected with the internet, for example the wifi and
4:24
we have to turn on the location of this device here. So for now I'm going to take a picture to show you how it looks like and let's go to
4:32
the preview. So this is our picture by tapping on this button in the right corner we get access to
4:37
the details and by tapping on this at the third position here we have the location so
4:42
greetings from Krakow and let's go back to these settings in the camera
4:47
And here to the left and to the end
4:59
At the end here we have the shooter sound so by tapping on this button we can easily
5:04
turn on and turn off the camera shooter sound. So this is how it works and that's all, thanks for watching, subscribe our channel and leave