0:00
This is POCOX5 Pro and in this video I would like to share if you're useful tips and tricks for the default camera app of this device
0:11
So to start, let's launch the camera app itself and the first tip I have is to enter the pro mode
0:18
Basically what the promo does or what the pro mode provides with is with more manual control over the pictures that you're going to take
0:28
Or, well, basically, long story short, it just provides you with a lot of manual control features
0:37
Or, well, should I rather say, it allows you to change a lot of parameters manually
0:43
because usually they are set to be automatic, automatic. So for example, you can modify the white balance value, the focus distance value
0:58
the shutter speed value, the ISO value, exposure value, and switch the lens from
1:05
white to ultra-white and vice versa. So basically if you are not satisfied with the automatic values for those parameters, or
1:14
you would like to configure your photo that you going to shoot in accordance with the ambient light and the environment that you have around you you can just go ahead and enter the Pro mode and do it your
1:33
way. The next option is the one that you also have while at the Pro mode. As you can see, there's
1:40
still 108 digit or number at the top. Basically it makes it so that the resolution, the resolution
1:49
which will be used for your photo will be 808 megapixels so you improve resolution
1:55
photo quality and detailing of your future shot but at the same time such
2:01
pictures will occupy significantly more storage space so you also have to
2:05
account for that as well but if the memory is none of your concern you can just
2:12
set the megapixel value to 108 and take a very detailed pictures
2:19
So in your photo you can include a lot of small objects and once zooming into
2:30
sate objects you will see that the details level is quite remarkable if you ask me
2:40
The next tip I have or a trick whatever you call it is how you can customize the watermark so first of all we will need to go into camera settings to enable the watermark to begin with And in here you can choose if you would like to for your watermark to have timestamp or not
2:58
And then set some custom message for it to display. And once you have saved the changes, and once the, well, I mean, whatever
3:12
Now you can take a picture and it will have said watermark
3:17
So in my case it's the device making model, the custom message and the time and date stamp
3:26
So if that's something you could have a use with, just go ahead and enable the watermark
3:33
And fifth or, excuse me, fourth and final tip for today is a very useful inbuilt documents feature
3:42
which allows you to use the camera to scan some real-life physical documents
3:49
and basically make a PDF file out of them without any additional hustle or third-party apps
3:56
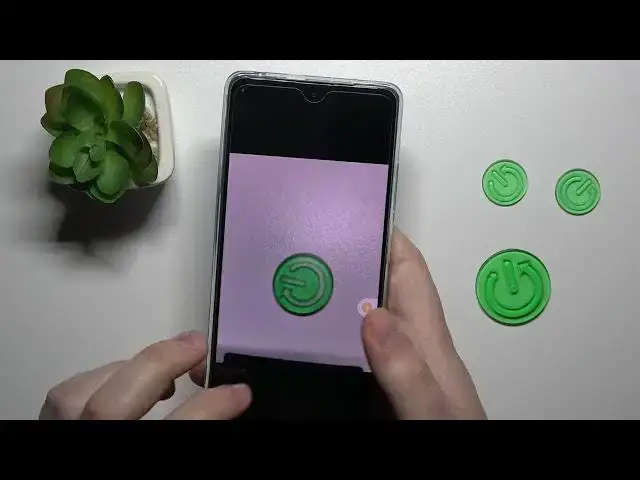
So take a photo of your document. As you can see, this little orange frame appears
4:00
which in-frames the actual document. Now I can see the result. So yeah it captured the document somewhat decently In here I can change the display mode so edit it
4:20
For example, I can change the color scheme and crop my document as well
4:37
Now save the changes. In order to actually save this photo as the PDF file, we just got to go for the share button
4:47
Choose to send this file to print. And instead of select a printer, choose Save as PDF option
4:54
Then hit the save button over here. Choose the path that you would like to save this PDF file to
5:02
And now if I will open up the file manager, I will be easily able to
5:07
able to find, say it, well, file. So it should be with the docks. So here you have it
5:20
Already, so that would be it for this video in general, guys. Thanks for watching, thanks for
5:26
your attention and bye-bye. I'm